Knowledgetrovehq

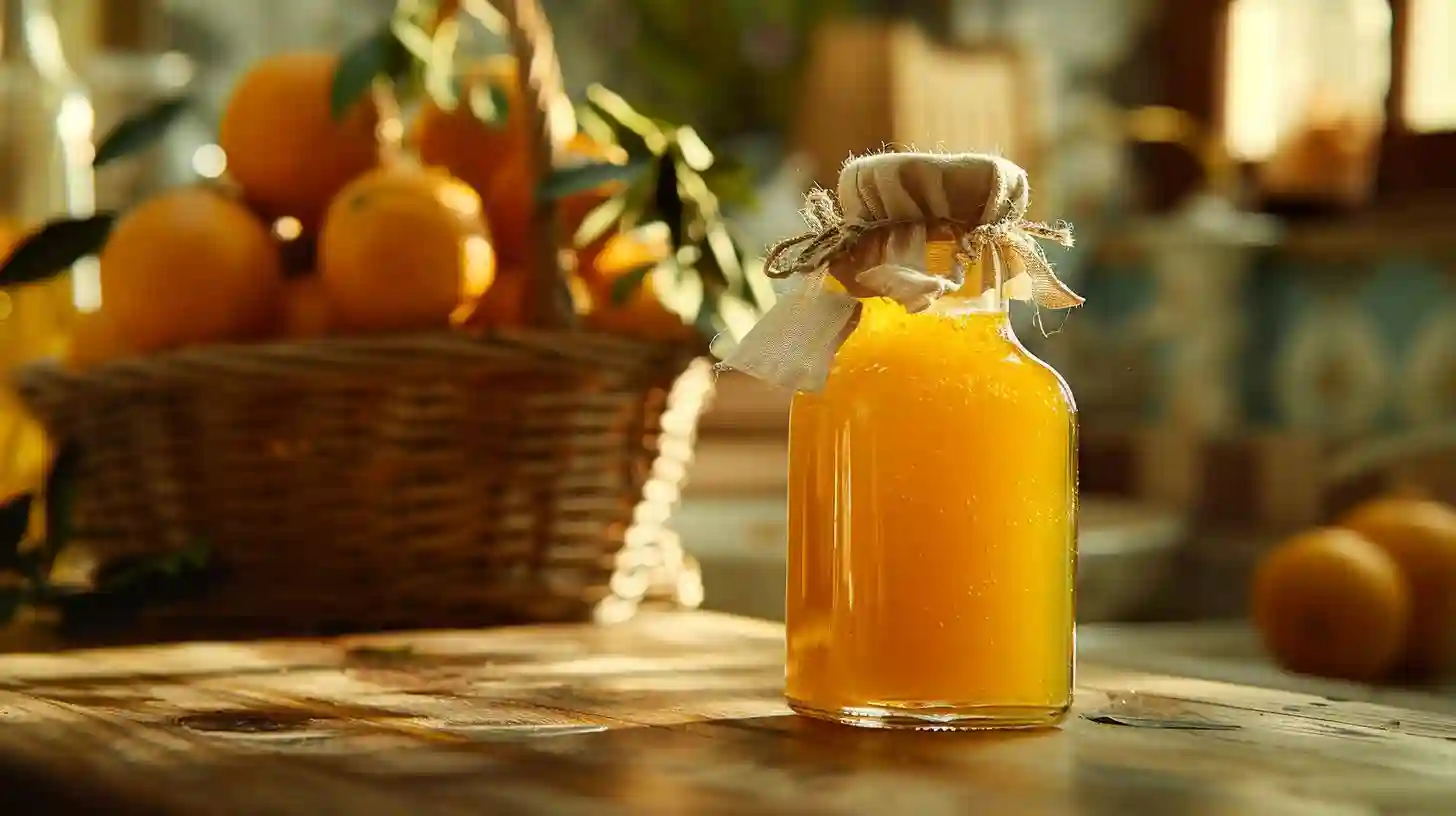
Orange marmalade, a rich and tangy preserve, serves as the quintessential companion to toast and a luxurious filling for pastries. Originating from the Portuguese word "marmelada," which referred to a quince paste, marmalade has evolved and found its place in many kitchens around the world, particularly in Great Britain. The process of making orange marmalade is a blend of art and science, involving careful selection of ingredients, attentive preparation, and precise cooking techniques.
The journey begins with the choice of oranges. The best marmalade often comes from Seville oranges, known for their bitter peel and robust flavor. While regular sweet oranges can be used, they might not offer the same depth of flavor or set as well due to differences in pectin content—a natural gelling agent found in the peels. Aside from the primary fruit, sugar and water are the only other essential ingredients, though the occasional inclusion of lemon can add a refreshing zest that elevates the final product.
Selecting firm, blemish-free fruits is crucial. Wash the oranges thoroughly to remove any dirt, pesticide residues, or wax coatings. It’s important to use organic oranges if possible, as the peel, where residues often accumulate, will be incorporated into the marmalade. Water must be clean and filtered if possible, to avoid introducing any impurities that might alter the taste or texture.
The preparation involves several preliminary steps. First, halve the oranges and extract the juice, setting it aside for later. The seeds should be removed and reserved, as they contain high levels of pectin, which is vital for setting the marmalade. The remaining rinds and pith need to be sliced thinly. The thickness of these slices can directly affect the texture of the finished marmalade—thinner slices will result in a finer, more spreadable product, while thicker slices will contribute to a chunkier, rustic texture.
Once sliced, combine the orange juice, peels, and seeds in a vessel, typically a large non-reactive pot. Adding water, the mixture is brought to a boil. It’s recommended to use a wide, heavy-bottomed pan to ensure even heat distribution, which helps in achieving consistent cooking. The boiling initiates the release of pectin from the fruit, which, combined with the sugar later, will contribute to the marmalade's gel-like consistency.
Allow the mixture to simmer for an extended period, usually around an hour or so. During this phase, the peels soften, and the overall volume might reduce as water evaporates. The slow cooking helps integrate the flavors, creating a balanced sweetness and bitterness that defines good marmalade. It’s crucial to skim off any scum that rises to the surface, as these impurities can affect both the clarity and taste of the final product.
After the initial simmering, remove the seeds. These are typically gathered in cheesecloth or a muslin bag to make them easy to extract without losing any potential pectin. At this stage, sugar is added. The amount of sugar used is generally equal to the weight of the oranges used, but this can be adjusted depending on the desired sweetness. Be sure to dissolve the sugar completely before bringing the mixture back to a boil.
The second boil is a critical stage where the transformation into marmalade happens. As the mixture reaches higher temperatures, water continues to evaporate, and sugar concentration increases, facilitating the setting. This boiling should be vigorous yet controlled, requiring constant attention to avoid burning. Stirring is essential, particularly towards the end, to prevent the sugar from caramelizing at the bottom of the pot.
Determining the setting point of marmalade can be tricky. Traditional methods include the "wrinkle test" where a small amount of marmalade placed on a cold plate wrinkles when pushed with a finger. Alternatively, a candy thermometer can be used—the setting point is generally around 220°F (104°C). Another indicator is when the mixture visibly sheets off a spoon rather than dripping.
Once the setting point is reached, the marmalade should be allowed to settle for a minute before transferring it to sterilized jars. The settling period helps any remaining bubbles to dissipate, ensuring a clear marmalade. Sterilization of jars is an indispensable step in preserving the marmalade safely and preventing spoilage. Jars can be sterilized by boiling them or heating them in an oven.
Fill the jars while the marmalade is still hot to ensure a proper seal. Leave a little headspace, wipe the rims clean to remove any stickiness, and close with sterilized lids. As the jars cool, a vacuum seal is formed, indicated by a slight indentation in the lid. This seal is essential for long-term preservation.
Store the sealed jars in a cool, dark place. Properly sealed and stored marmalade can last for up to a year. Once opened, keep it refrigerated and consume within a month or two to enjoy its peak flavor and quality. Marmalade’s versatility extends beyond a simple breakfast spread; it can be used in baking, as a glaze for meats, or even as an ingredient in sauces and salad dressings.
The alchemy of making orange marmalade encapsulates the transformation of simple ingredients into a product of complex flavors and textures. It’s a testament to the idea that meticulous technique and patience can elevate humble components into a culinary delicacy. Each jar of homemade marmalade carries with it the essence of sun-ripened oranges and the skilled touch of the maker, bringing a touch of warmth and brightness to any dish it accompanies.